


Concert photography is a true favorite of mine; I love capturing artists and musicians on stage in their natural element! Obviously, the COVID-19 crisis means we won’t be back out shooting bands for a while. I was lucky enough, however, to get to photograph Edith’s End at Fire on Water in Milwaukee right before quarantine began.
In this post, I’ll show you some of my favorite shots from the show in Milwaukee on February 22nd. I’ll also share my tips and tricks for getting great photos of musicians in low light environments. Once concerts and shows start up again, you’ll be ready to get out there and shoot a concert!
Step 1: Choose A Lens
The first thing I always do in a low light setting is pull out my 35mm lens. This lens is good for low light photography because of its wide angle, and large aperture. These aspects of the lens make it similar to the human eye, and allow the camera to collect more light at a faster rate.
Concert photography is almost always done in a dark setting, and musician’s don’t tend to stay still! The more light you can capture at a fast rate, the better.
The other great thing about the 35mm lens is its depth of field capabilities. With the 35mm you can ensure that your subject is crystal clear and in-focus, with a soft, blurry background behind them. You can see this effect in the photo below I took of my brother-in-law and sister-in-law who were in the audience!

I use the AF-S DX Nikkor 35mm f/1.8G lens, manufactured and sold by Nikon. If you’re in the market for a 35mm lens, check with your camera manufacturer for a recommendation.
Step 2: Get the Right Angles
Photographing a performance of any kind is always a challenge. Performers tend to move around a lot, and so does their audience! To get the right camera angles, you have to be both assertive, and sneaky.
Lots of large concert venues have space in front of stages dedicated to photographers. Small venues, however, don’t often have this luxury. If you’re in a bar or restaurant, or a small venue with little space to walk around, your best bet is to utilize the sides of the room to get close to the performers. Use the sides towards the front, and any natural barriers within the space to get as close to the musicians as you can.

Of course, you want to get up close and personal with the performers as well. To get good photos from right in front of the stage, get low to the ground so you don’t block the audience. NEVER use your flash when you’re directly in front of the performers, you don’t want to blind them!
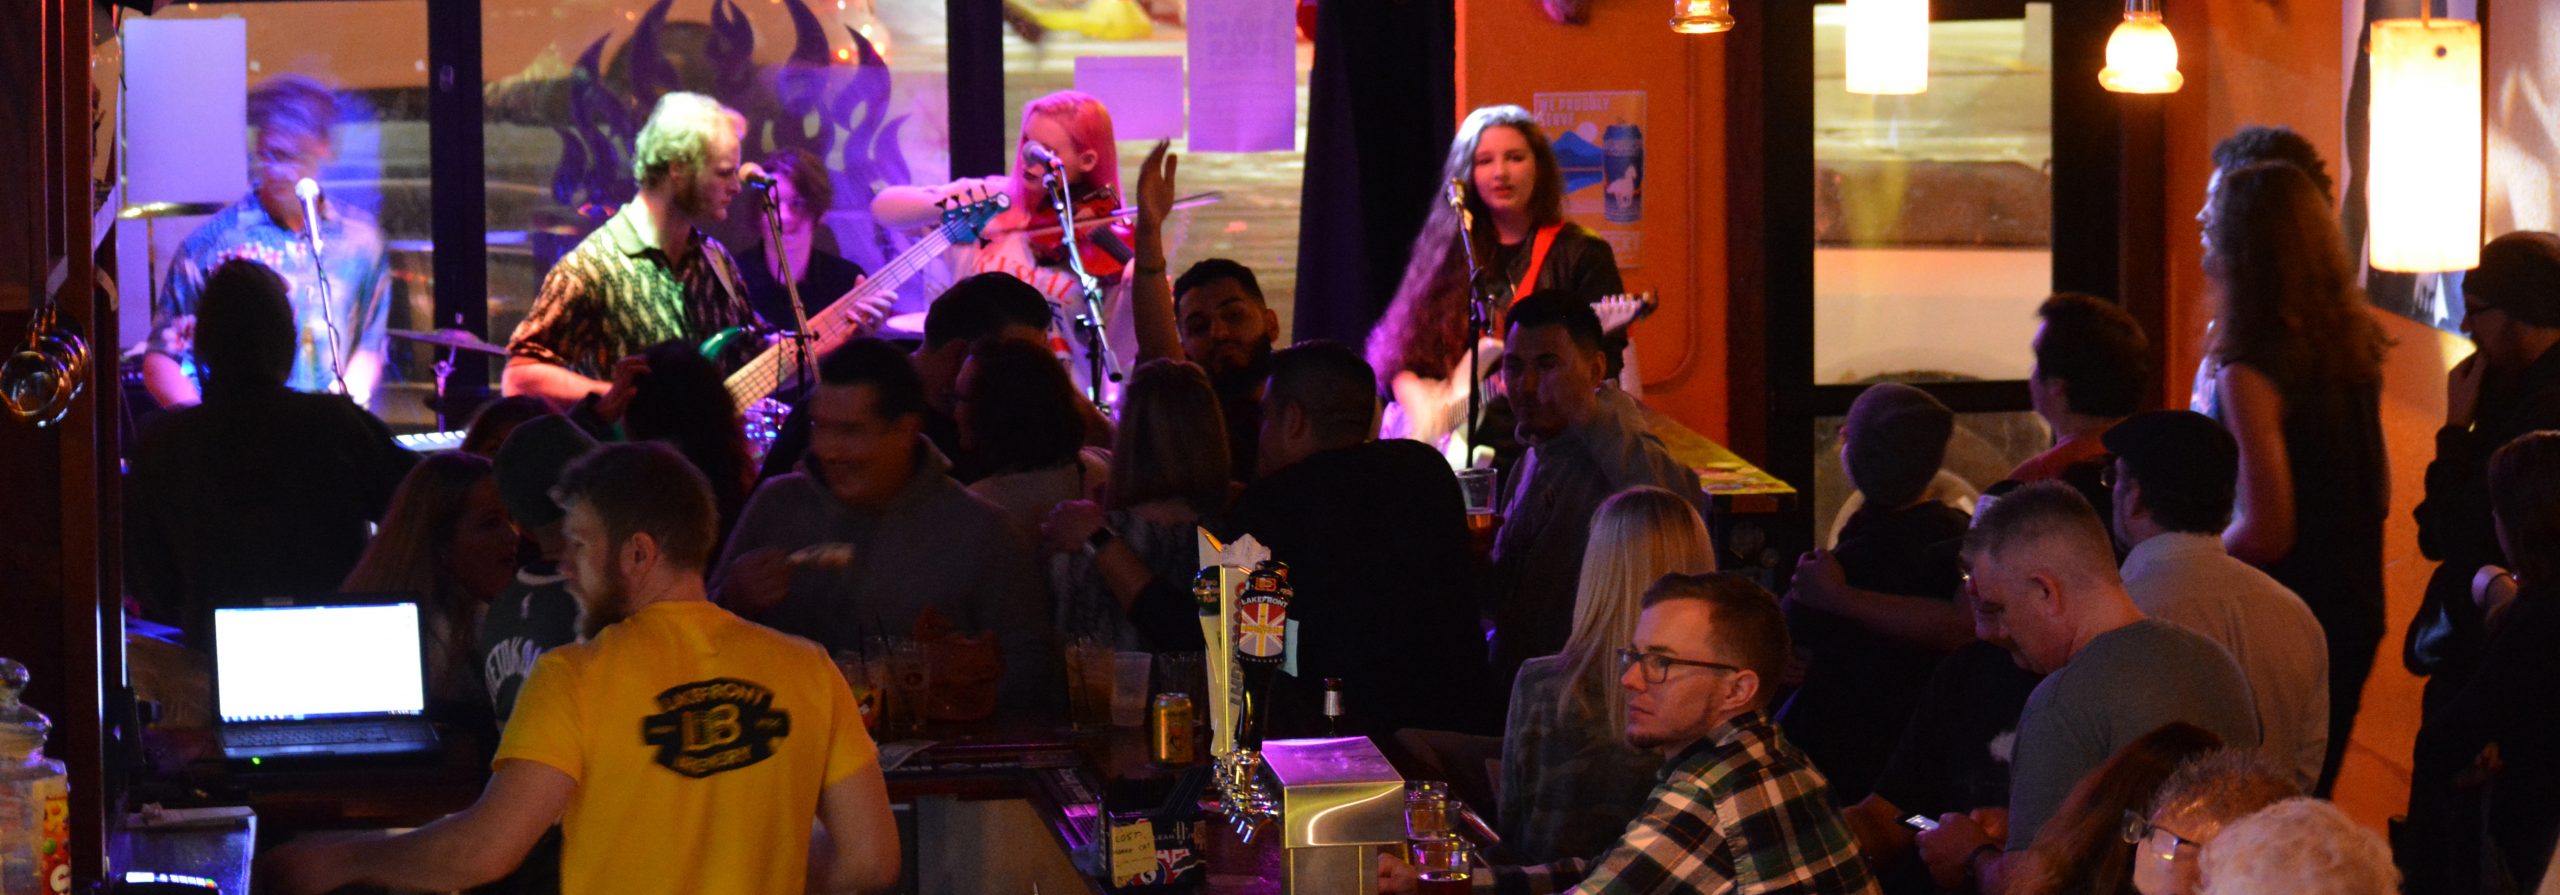
Finally, look around the space for other creative places to shoot from. At Fire on Water, I spotted a staircase in the back of the room. The shot below was taken from on top of the staircase to capture the feeling of the crowd and the band sharing the space.
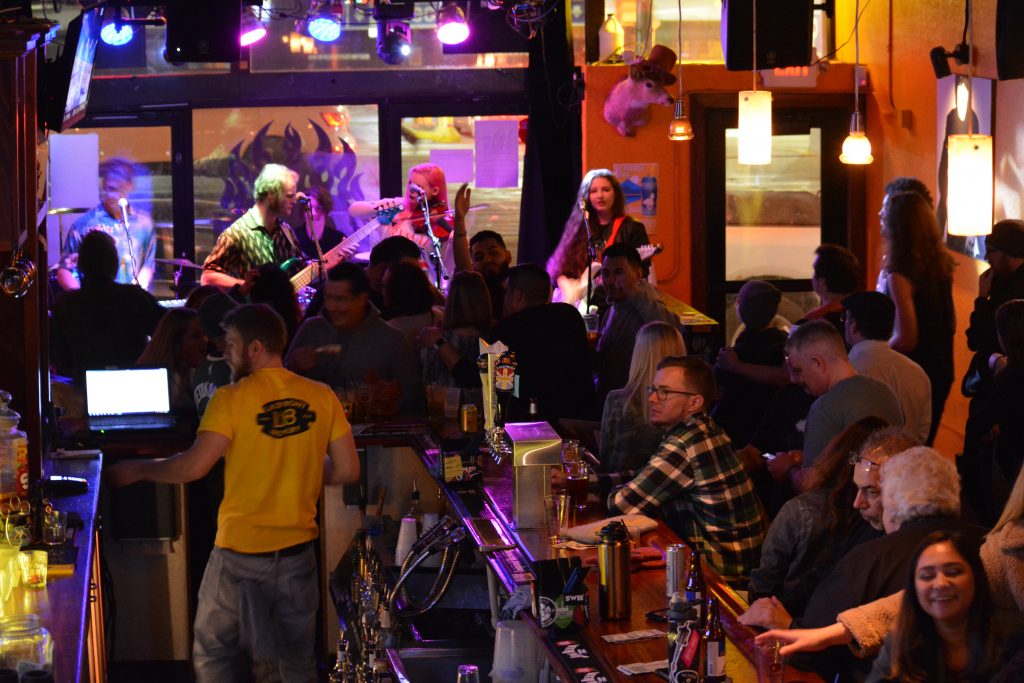
Getting the right angles in a small concert setting is a challenge, but as long as you are mindful and respectful of the audience and performers, getting up close and personal for those shots is a piece of cake!
Step 3: Be Creative with Lighting
Remember how I said you want to avoid using your flash if you’re directly in front of the performers? What I should have said was, try to avoid using your flash AT ALL.
Flash photography distracts both the audience and the performers, and detracts from the concert experience. I make exceptions to this rule sometimes, but very rarely. The best way to get good lighting while shooting low light photography, is to be as creative as possible with the light sources you already have.
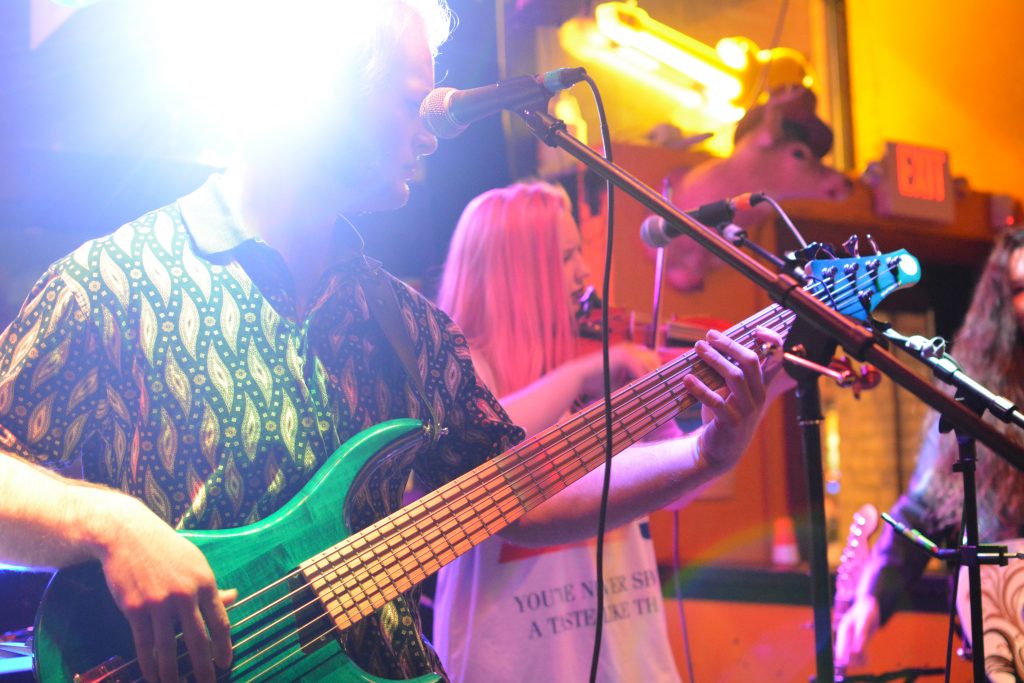
The shot below is probably my favorite from the entire show. I used the light behind the bassist to create a halo effect on his head, and it turned out great.
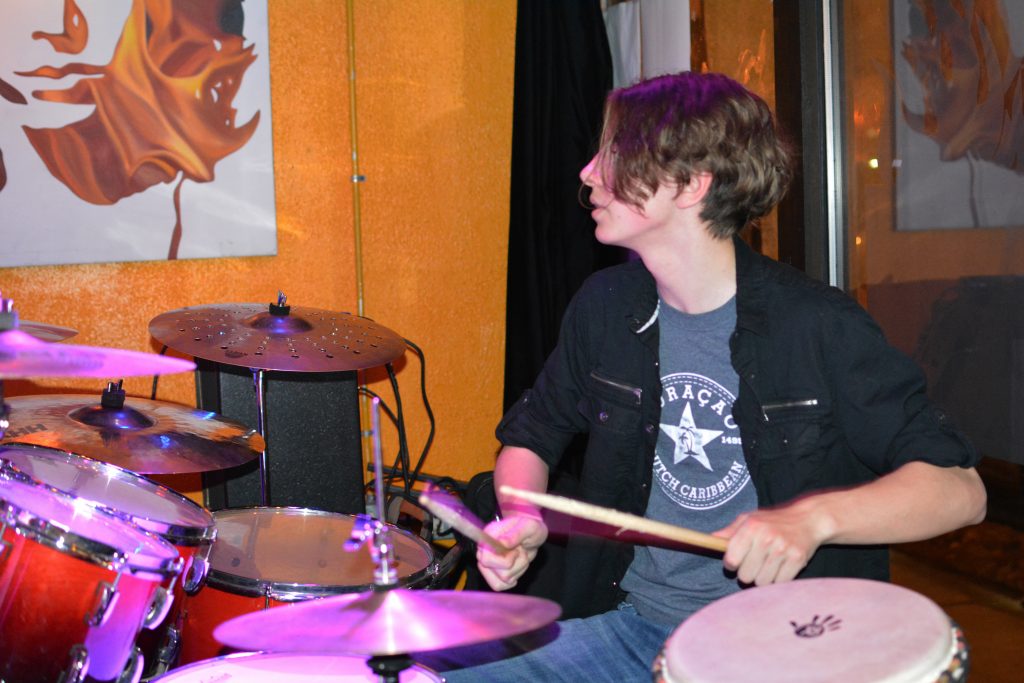
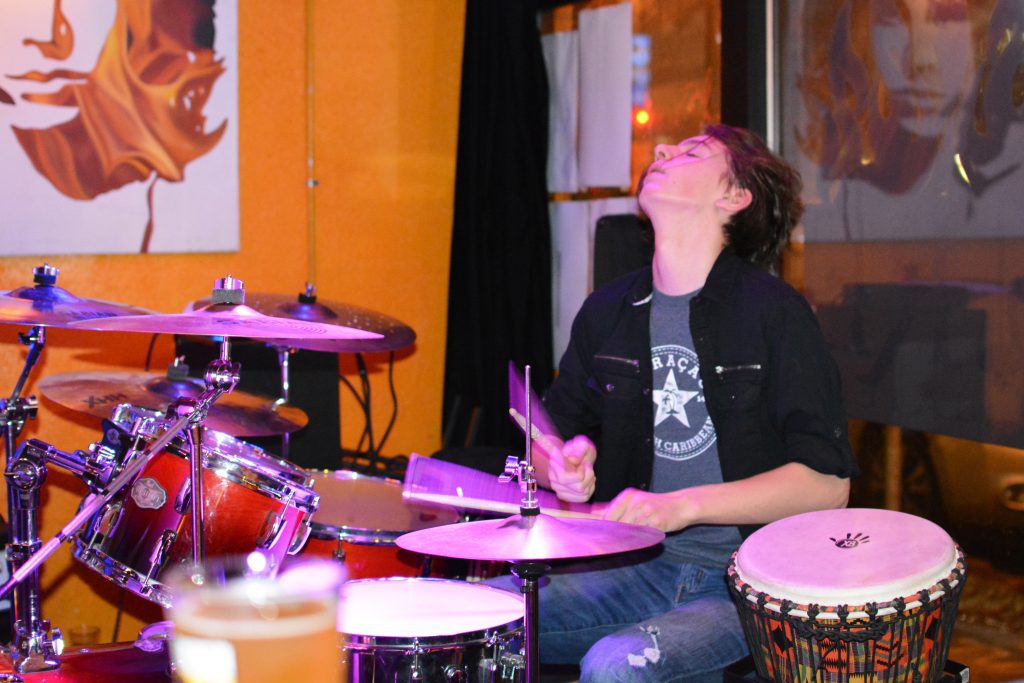
At Fire on Water, I used my flash for the two shots below, only because the drummer was stuck in a pocket of darkness at the back of the stage. I stood behind the barrier on the side of the stage so as not to distract the rest of the musicians, and to minimize the flash for the audience.
Step 4: Post Processing
As a concert photographer, I don’t shy away from Photoshop. Editing your photos after shooting them can enhance blurry images, or bring vibrance to pictures with dull colors. Be careful not to over-edit; I like to stick with adjusting the brightness, levels, and vibrance/saturation of the photos. I occasionally use the sharpness filter for image stabilization, but on a low level to avoid graininess.
A little motion blur isn’t a bad thing, and can make your images unique!

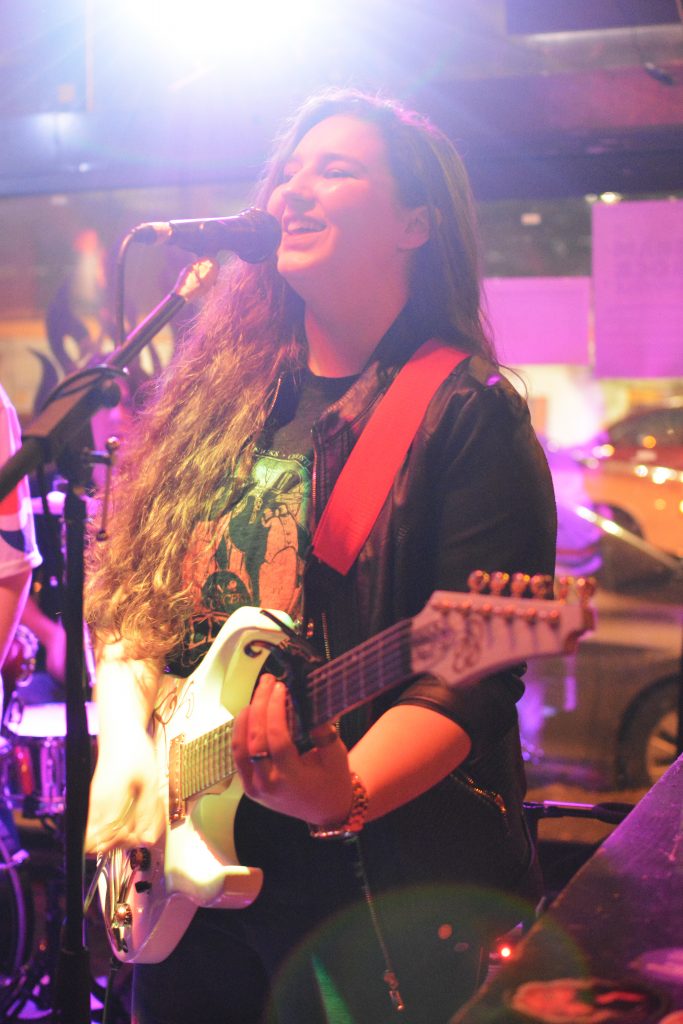
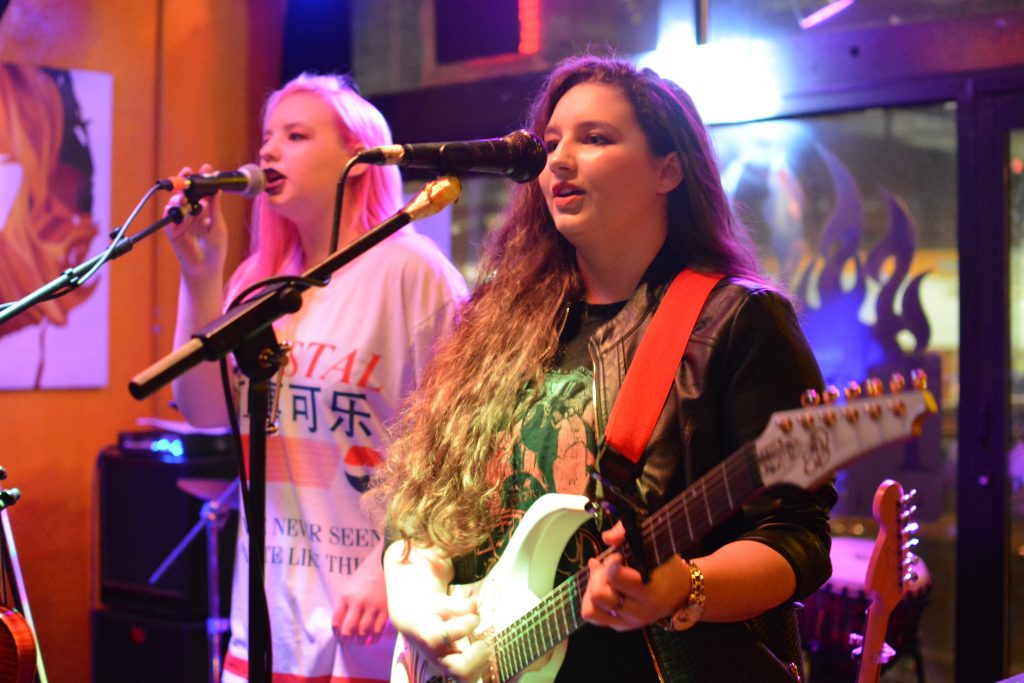
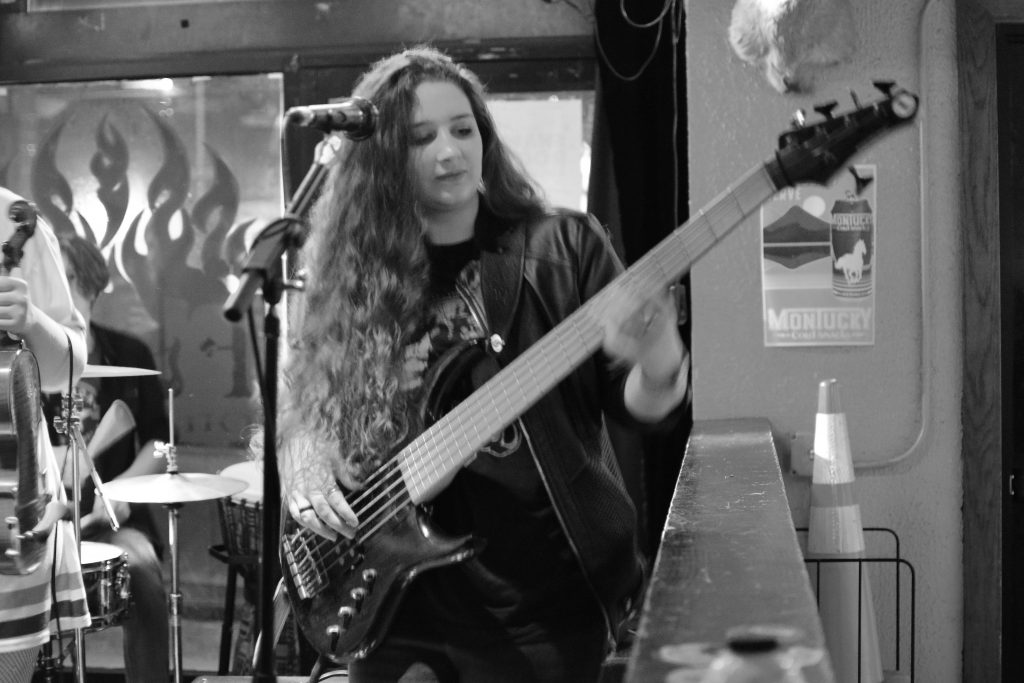
If you have a photo that isn’t quite up to par in color, but is still well composed, try making it black and white. The subject will appreciate a good action shot, and any issues with colors and lights are more easily adjustable when the image is black and white. A good example is this shot of Elly below.
Get Out There and Shoot…. After the Quarantine is Lifted
You are now ready to shoot low light concerts! I hope you enjoyed these photos, and my tips about low light concert photography. Visit my Band Photography Page to see the rest of the shots from Edith’s End at Fire on Water.
I know it will be a little while before we can shoot concerts in public again, but in the meantime, practice these techniques at home. Turn off most of your lights and try to capture your pets, family, or roommates in motion.
Happy shooting!